General guide for wire fence bracing:
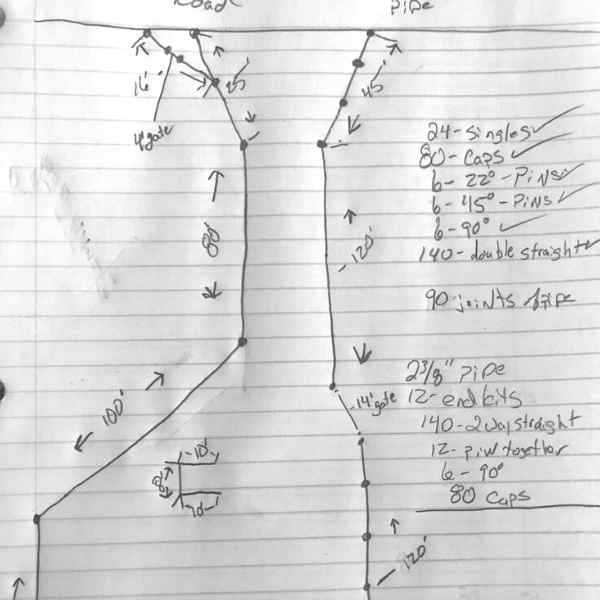
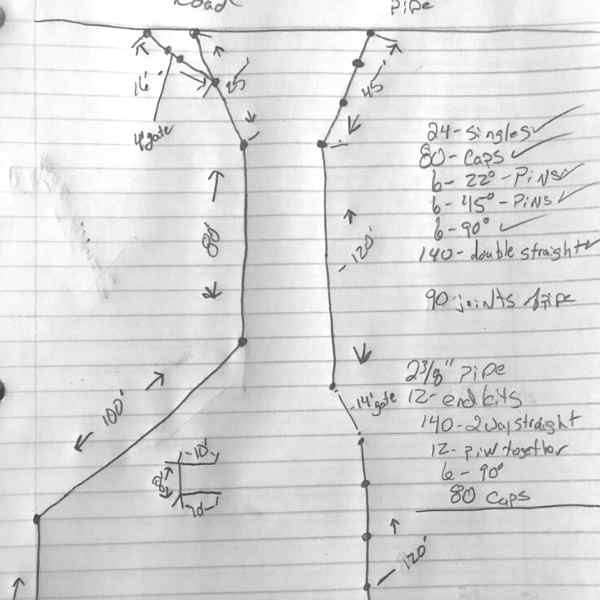
1| Plan your layout. Sketch out a drawing of your planned fence line. You can use Google Maps to measure on aerial photography. Be sure to mark where gates will be located as well as where hills and valleys are.
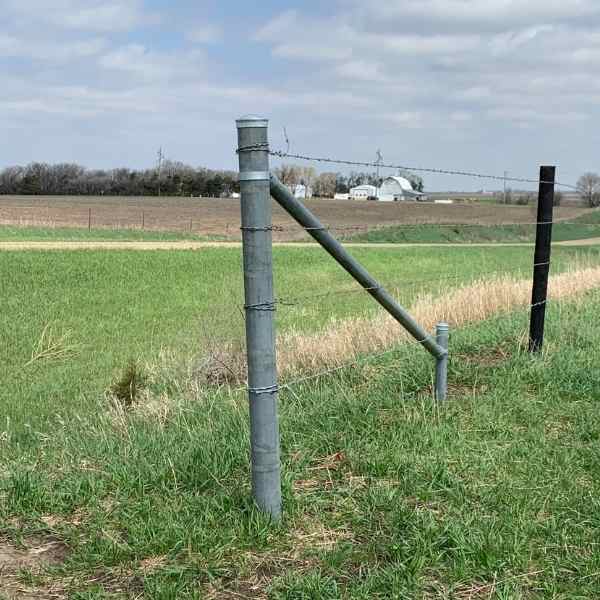
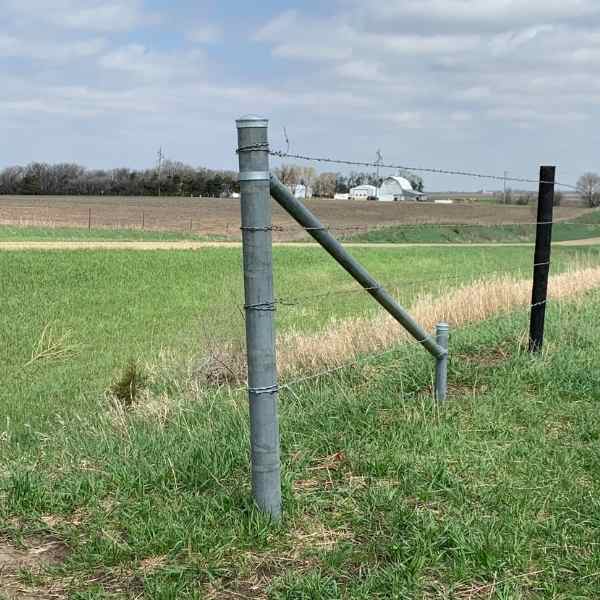
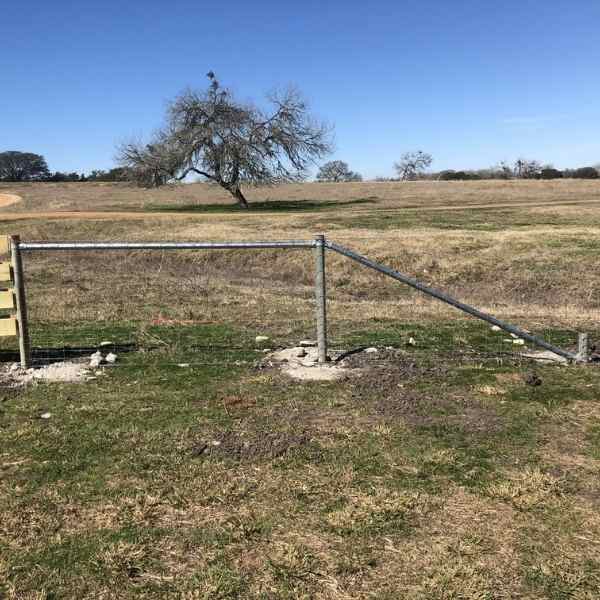
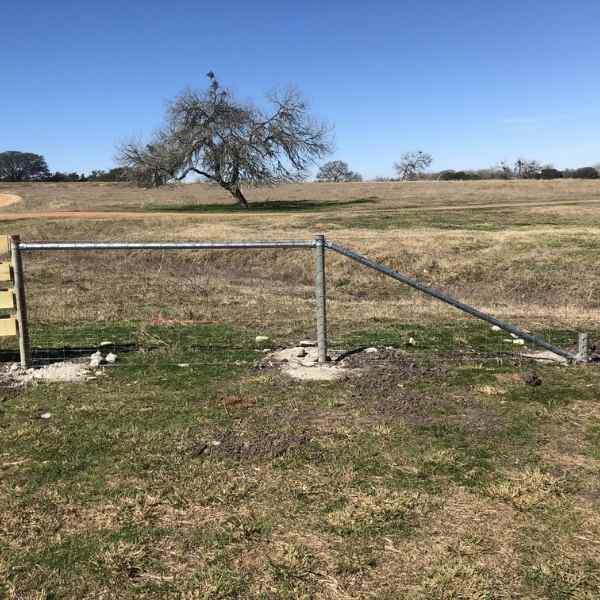
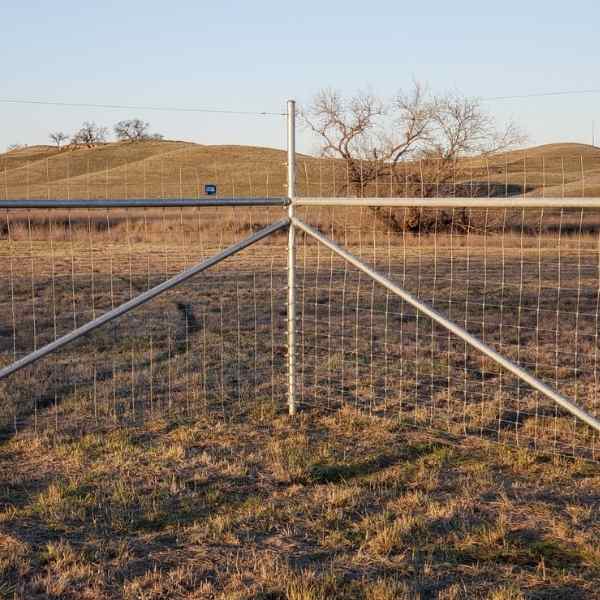
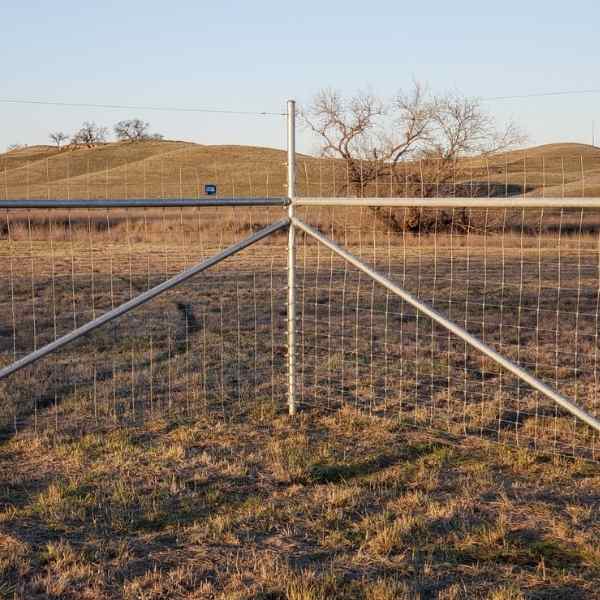
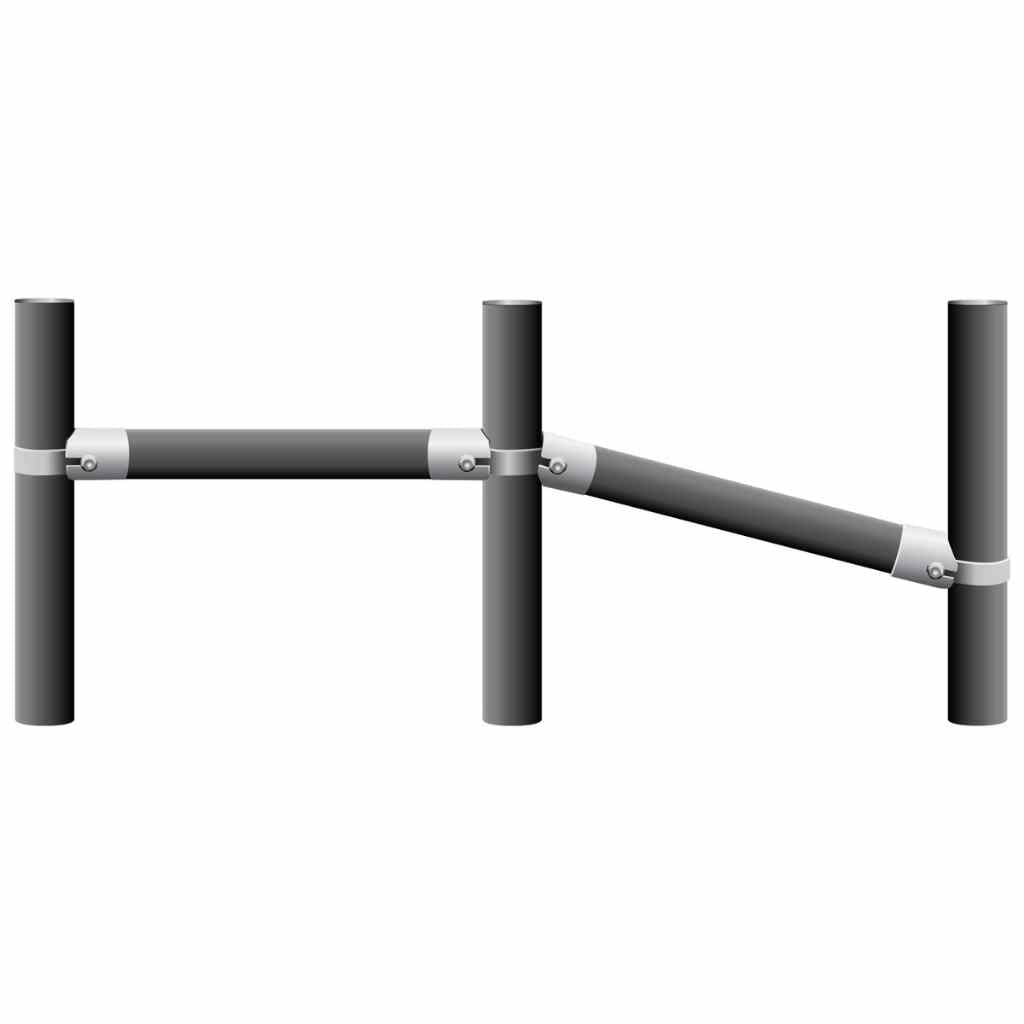
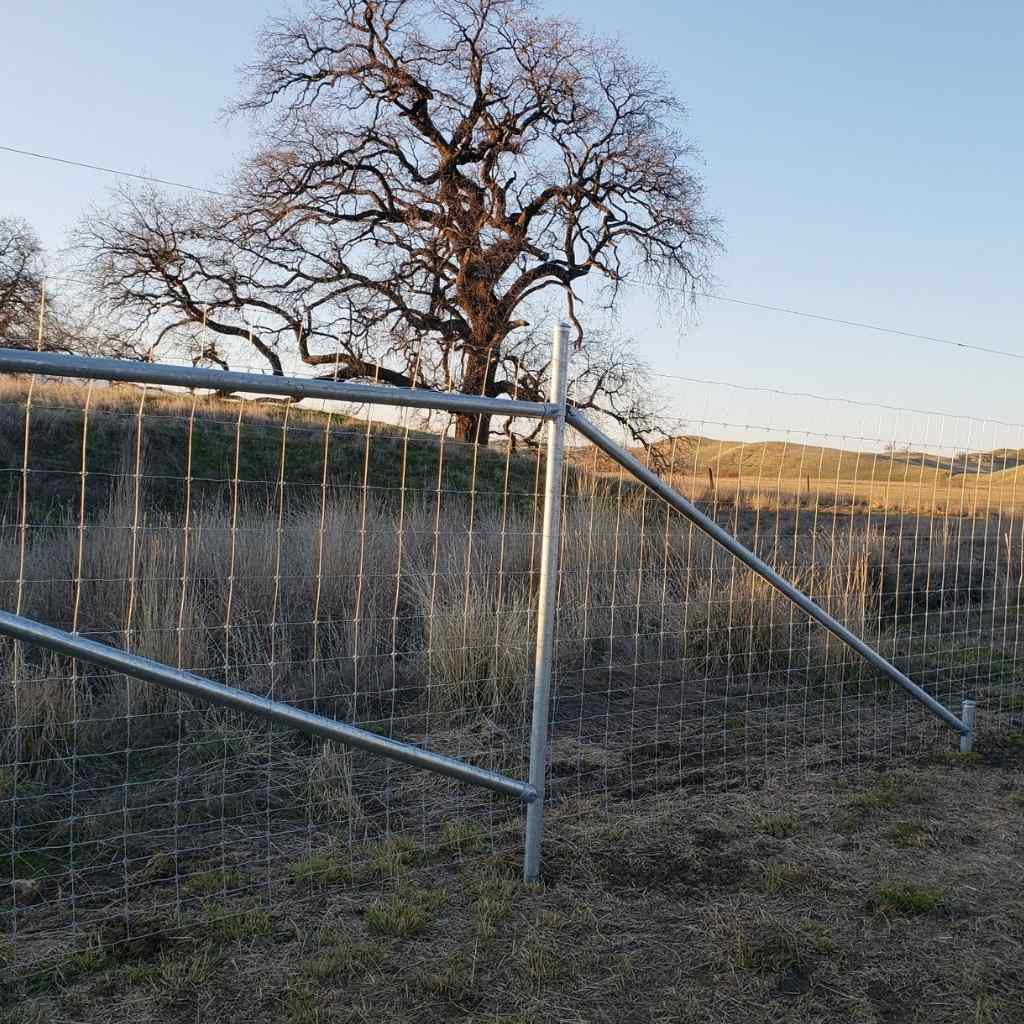
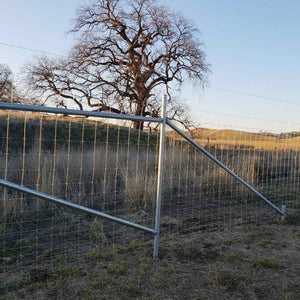
For wire fencing, pick out a brace style. We personally suggested N braces to be a part of the brace.
2| Mark your brace locations and choose your brace style. Bracing will be dependent on the wire type and terrain. Most woven wire bracing will not exceed 660 feet between braces. Single pull wire, such as barbed wire, will not exceed 1320 feet. Typically, short pulls use single braces, whereas, longer pulls that exceed one half of the maximum distance use double braces. The terrain may dictate more braces. A change of grade, such as hills and valleys are typical brace locations as well. Braces should be placed on any change of directions more than 10 degrees. An inside brace (N) is a good idea on posts that have a change of direction of more than 10 degrees. If turns exceed 20 degrees, wires should be tied off to a inline brace. See our brace installation guide for more brace details such as post spacing, depth to set and brace styles. We also have examples of bracing for high fence.
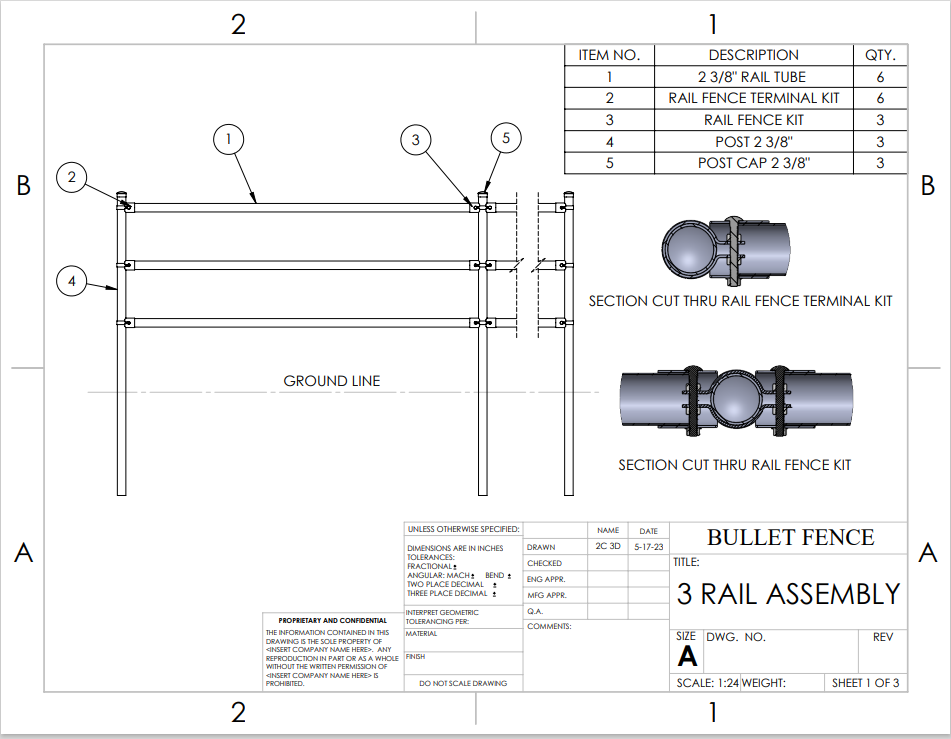
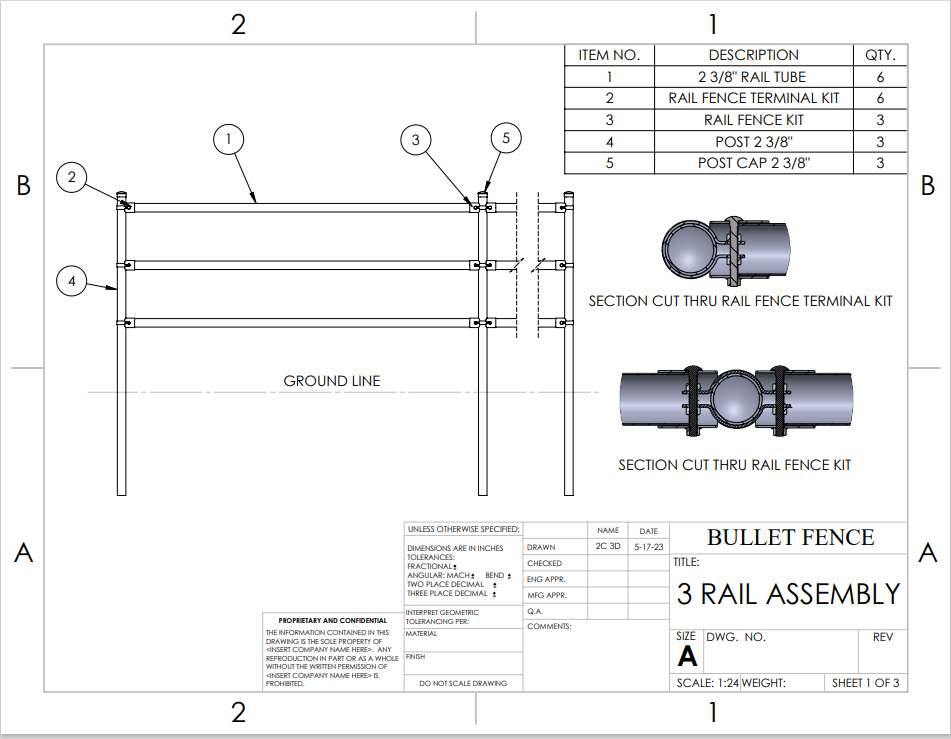
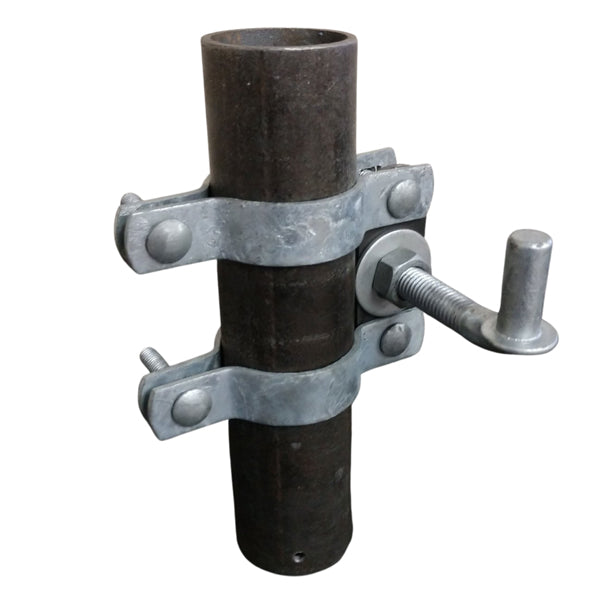
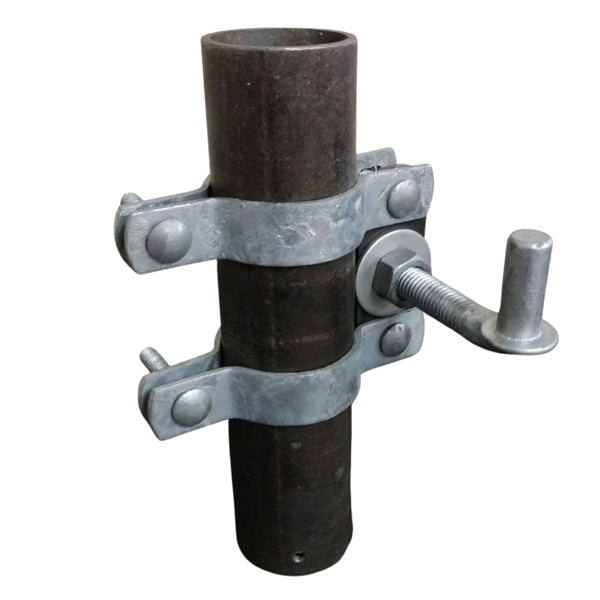
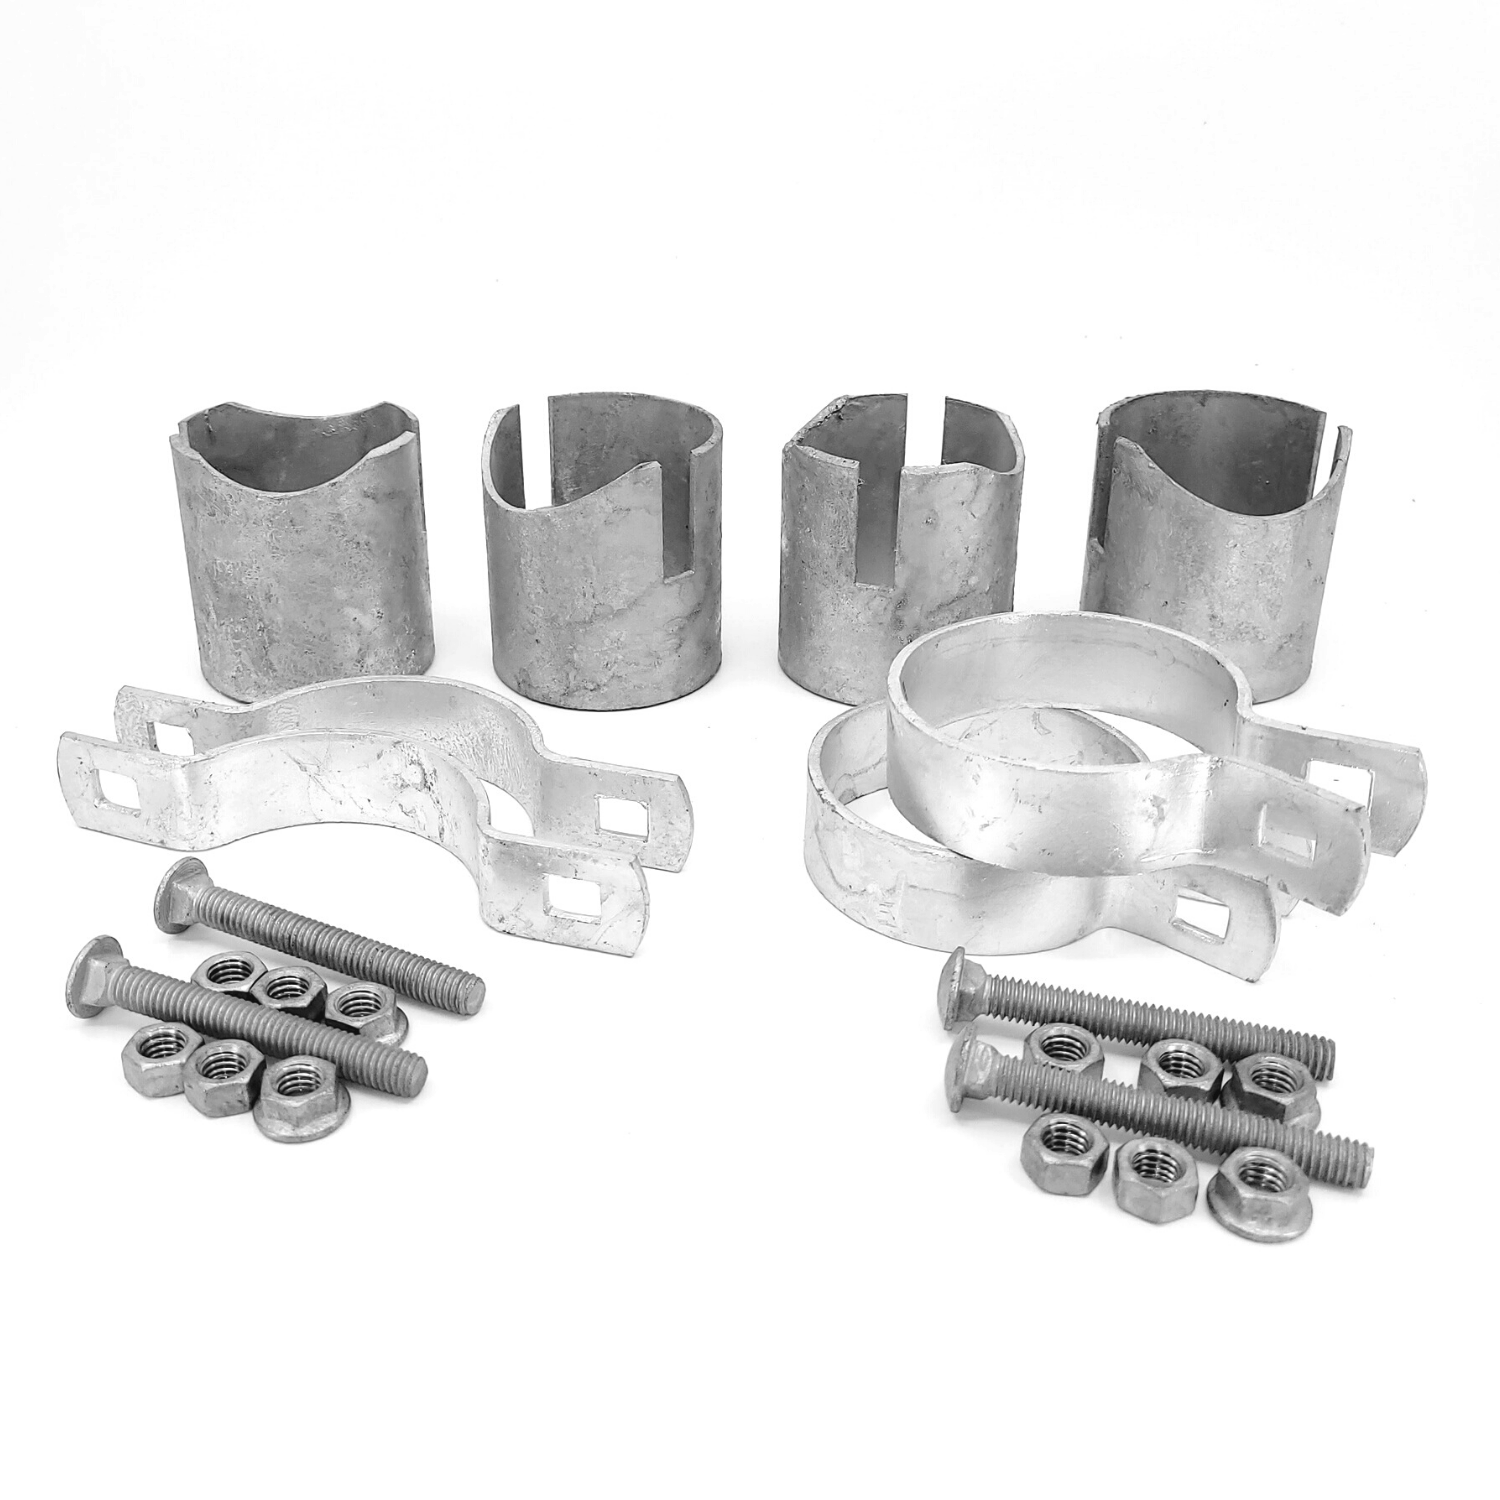
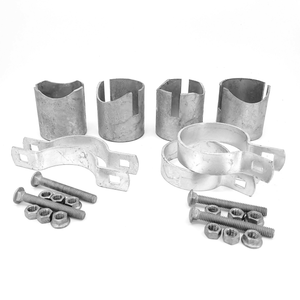
3| Buy your pipe from your favorite pipe supplier. If your using Fence Bullets, make sure to check the sizes for compatibility. If pipe is precut make sure it's done with a saw to make your install easier.
4| Place your order. You can order online or give us a call it you need assistance or have question.
5| Once your kit has arrived, gather tools and start building fence. For full details & installation instructions, see our installation page.