Fence Brace Planning & Design
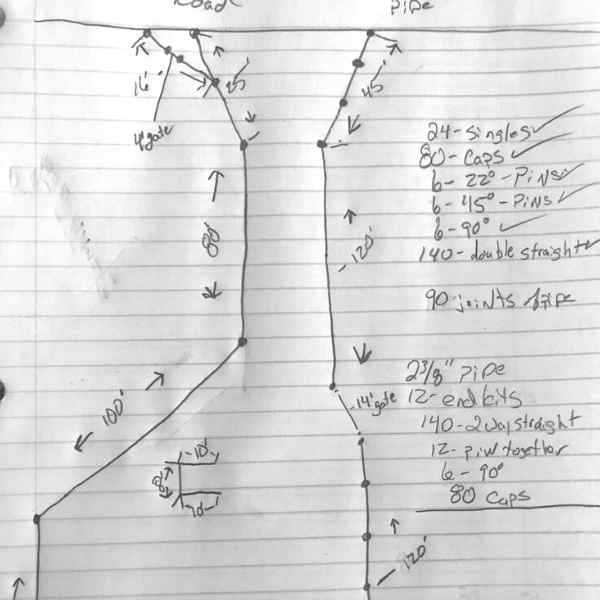
1| Sketch out your planned fence line
Planning is key. Prior to any materials being bought, we suggest sketching out a drawing of your planned fence line. You can use Google Maps to locate and measure the length from aerial photography. Be sure to mark where gates will be located as well as where hills, valleys, turns or corners that will need a brace.
2| Fence types and wire
What are you trying to fence in or out?The class of livestock (goat, beef, horses, varmints, hogs, etc.),your management level, and the expected pressures on the fence are some common considerations when determining the wire type(s) and materials. Wire field fencing (woven) or barbed wire are the most common choices of wire but electric perimeter fencing is becoming more common and used in addition to other wires to add protection to the fence.
3| Bracing types and considerations
Selecting brace materials:
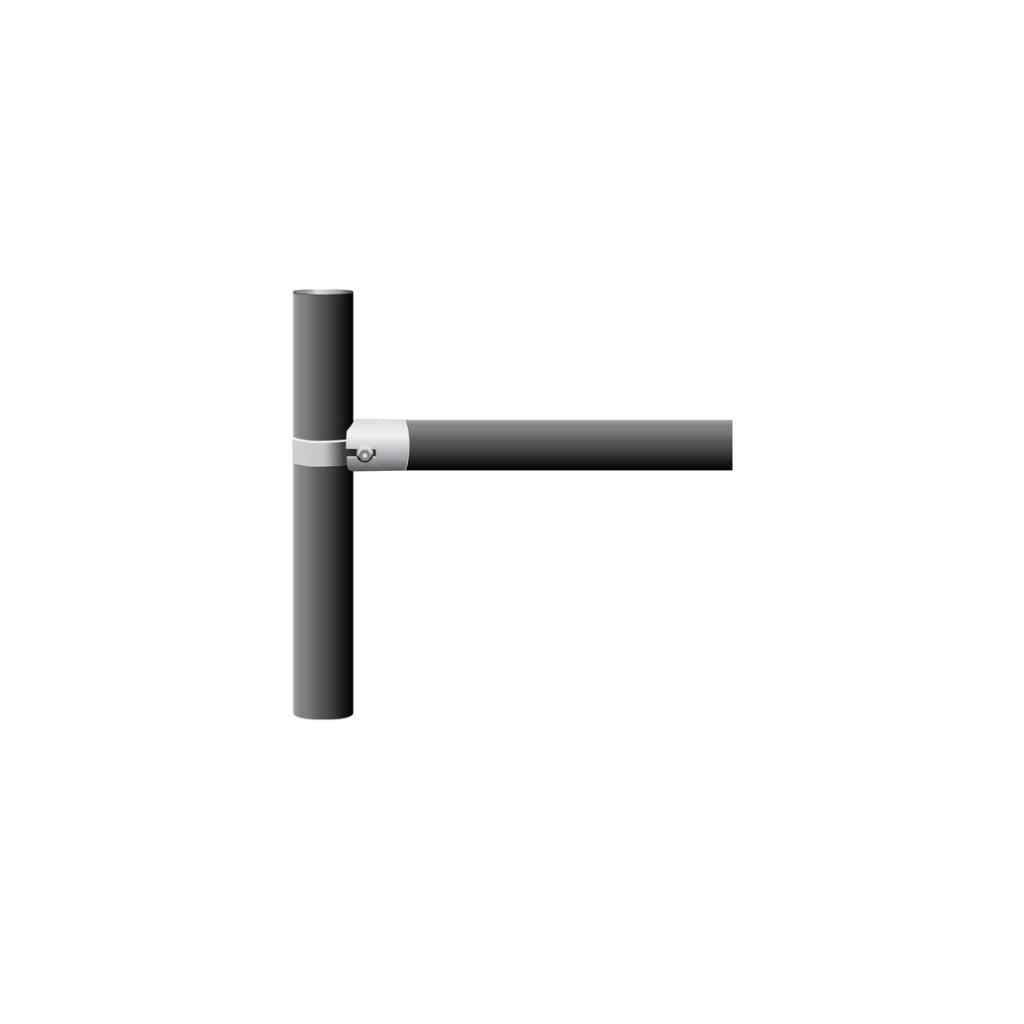
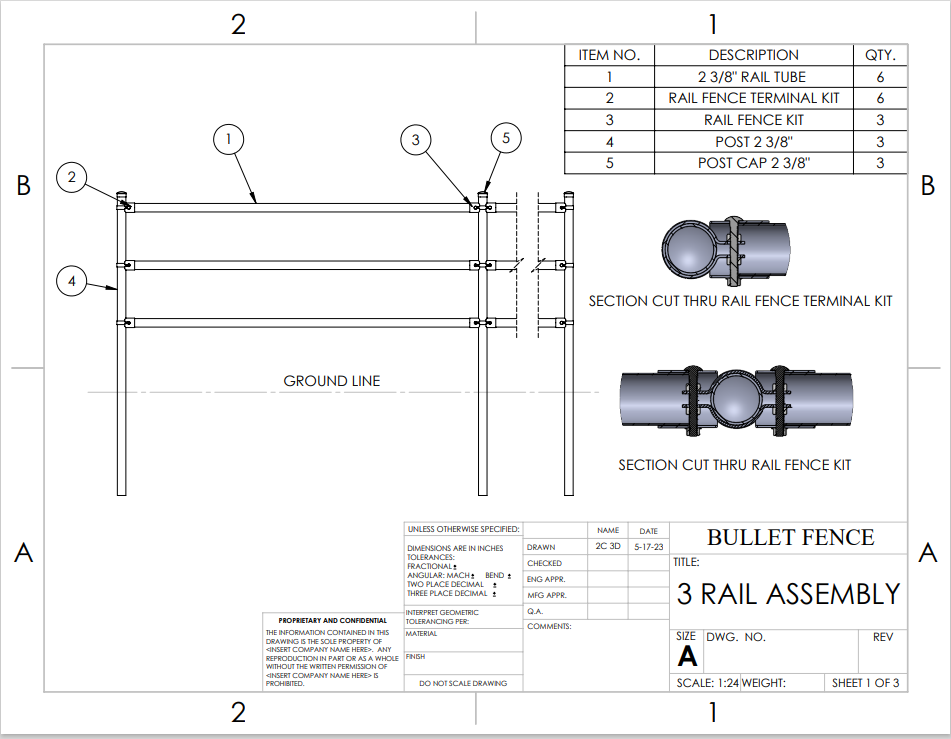
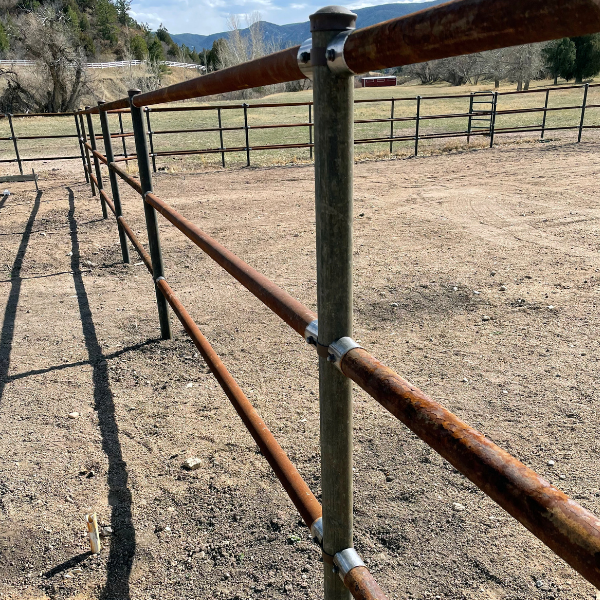
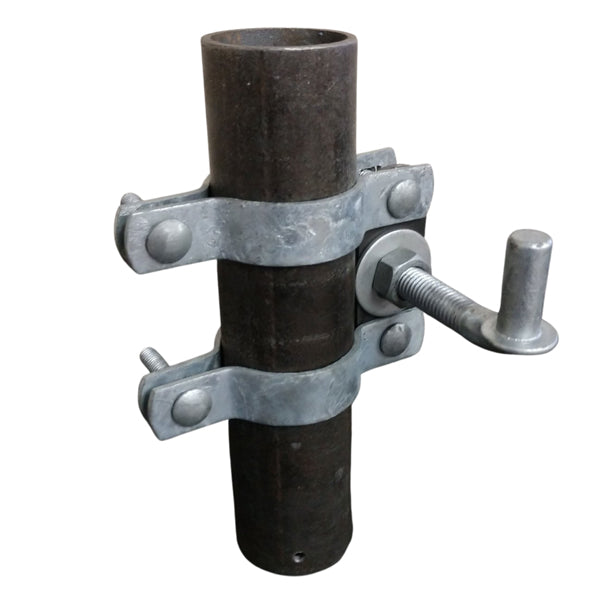
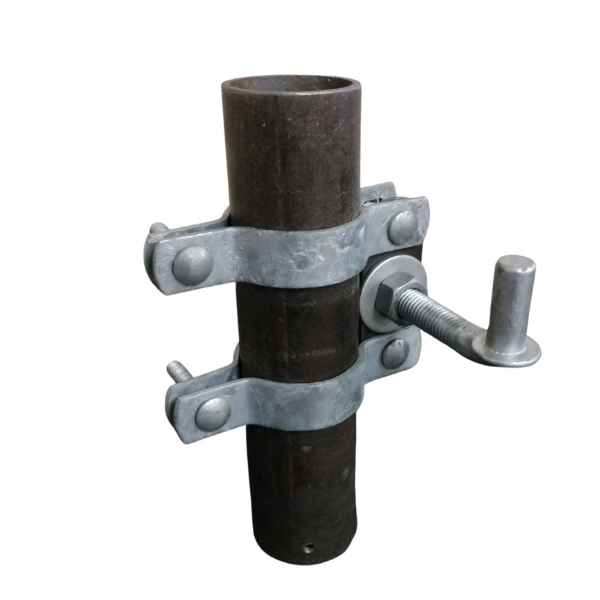
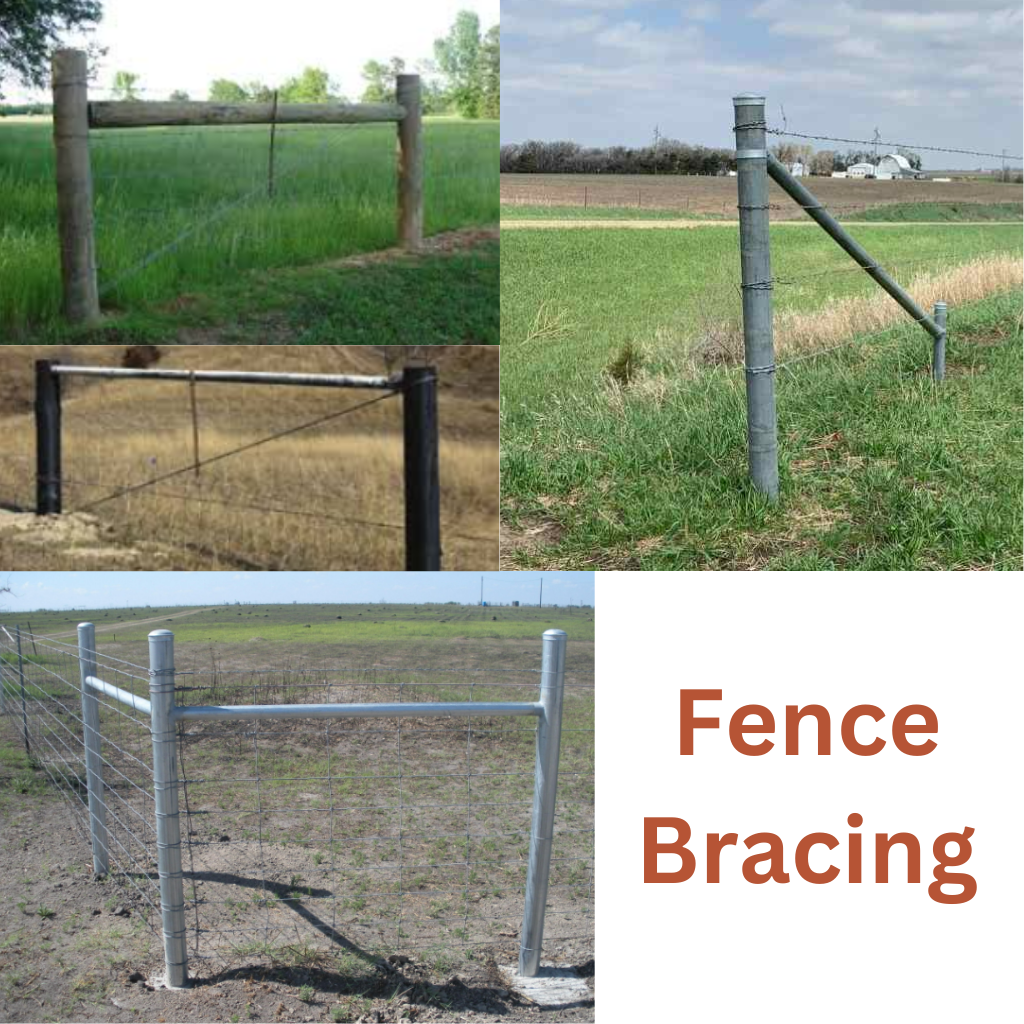
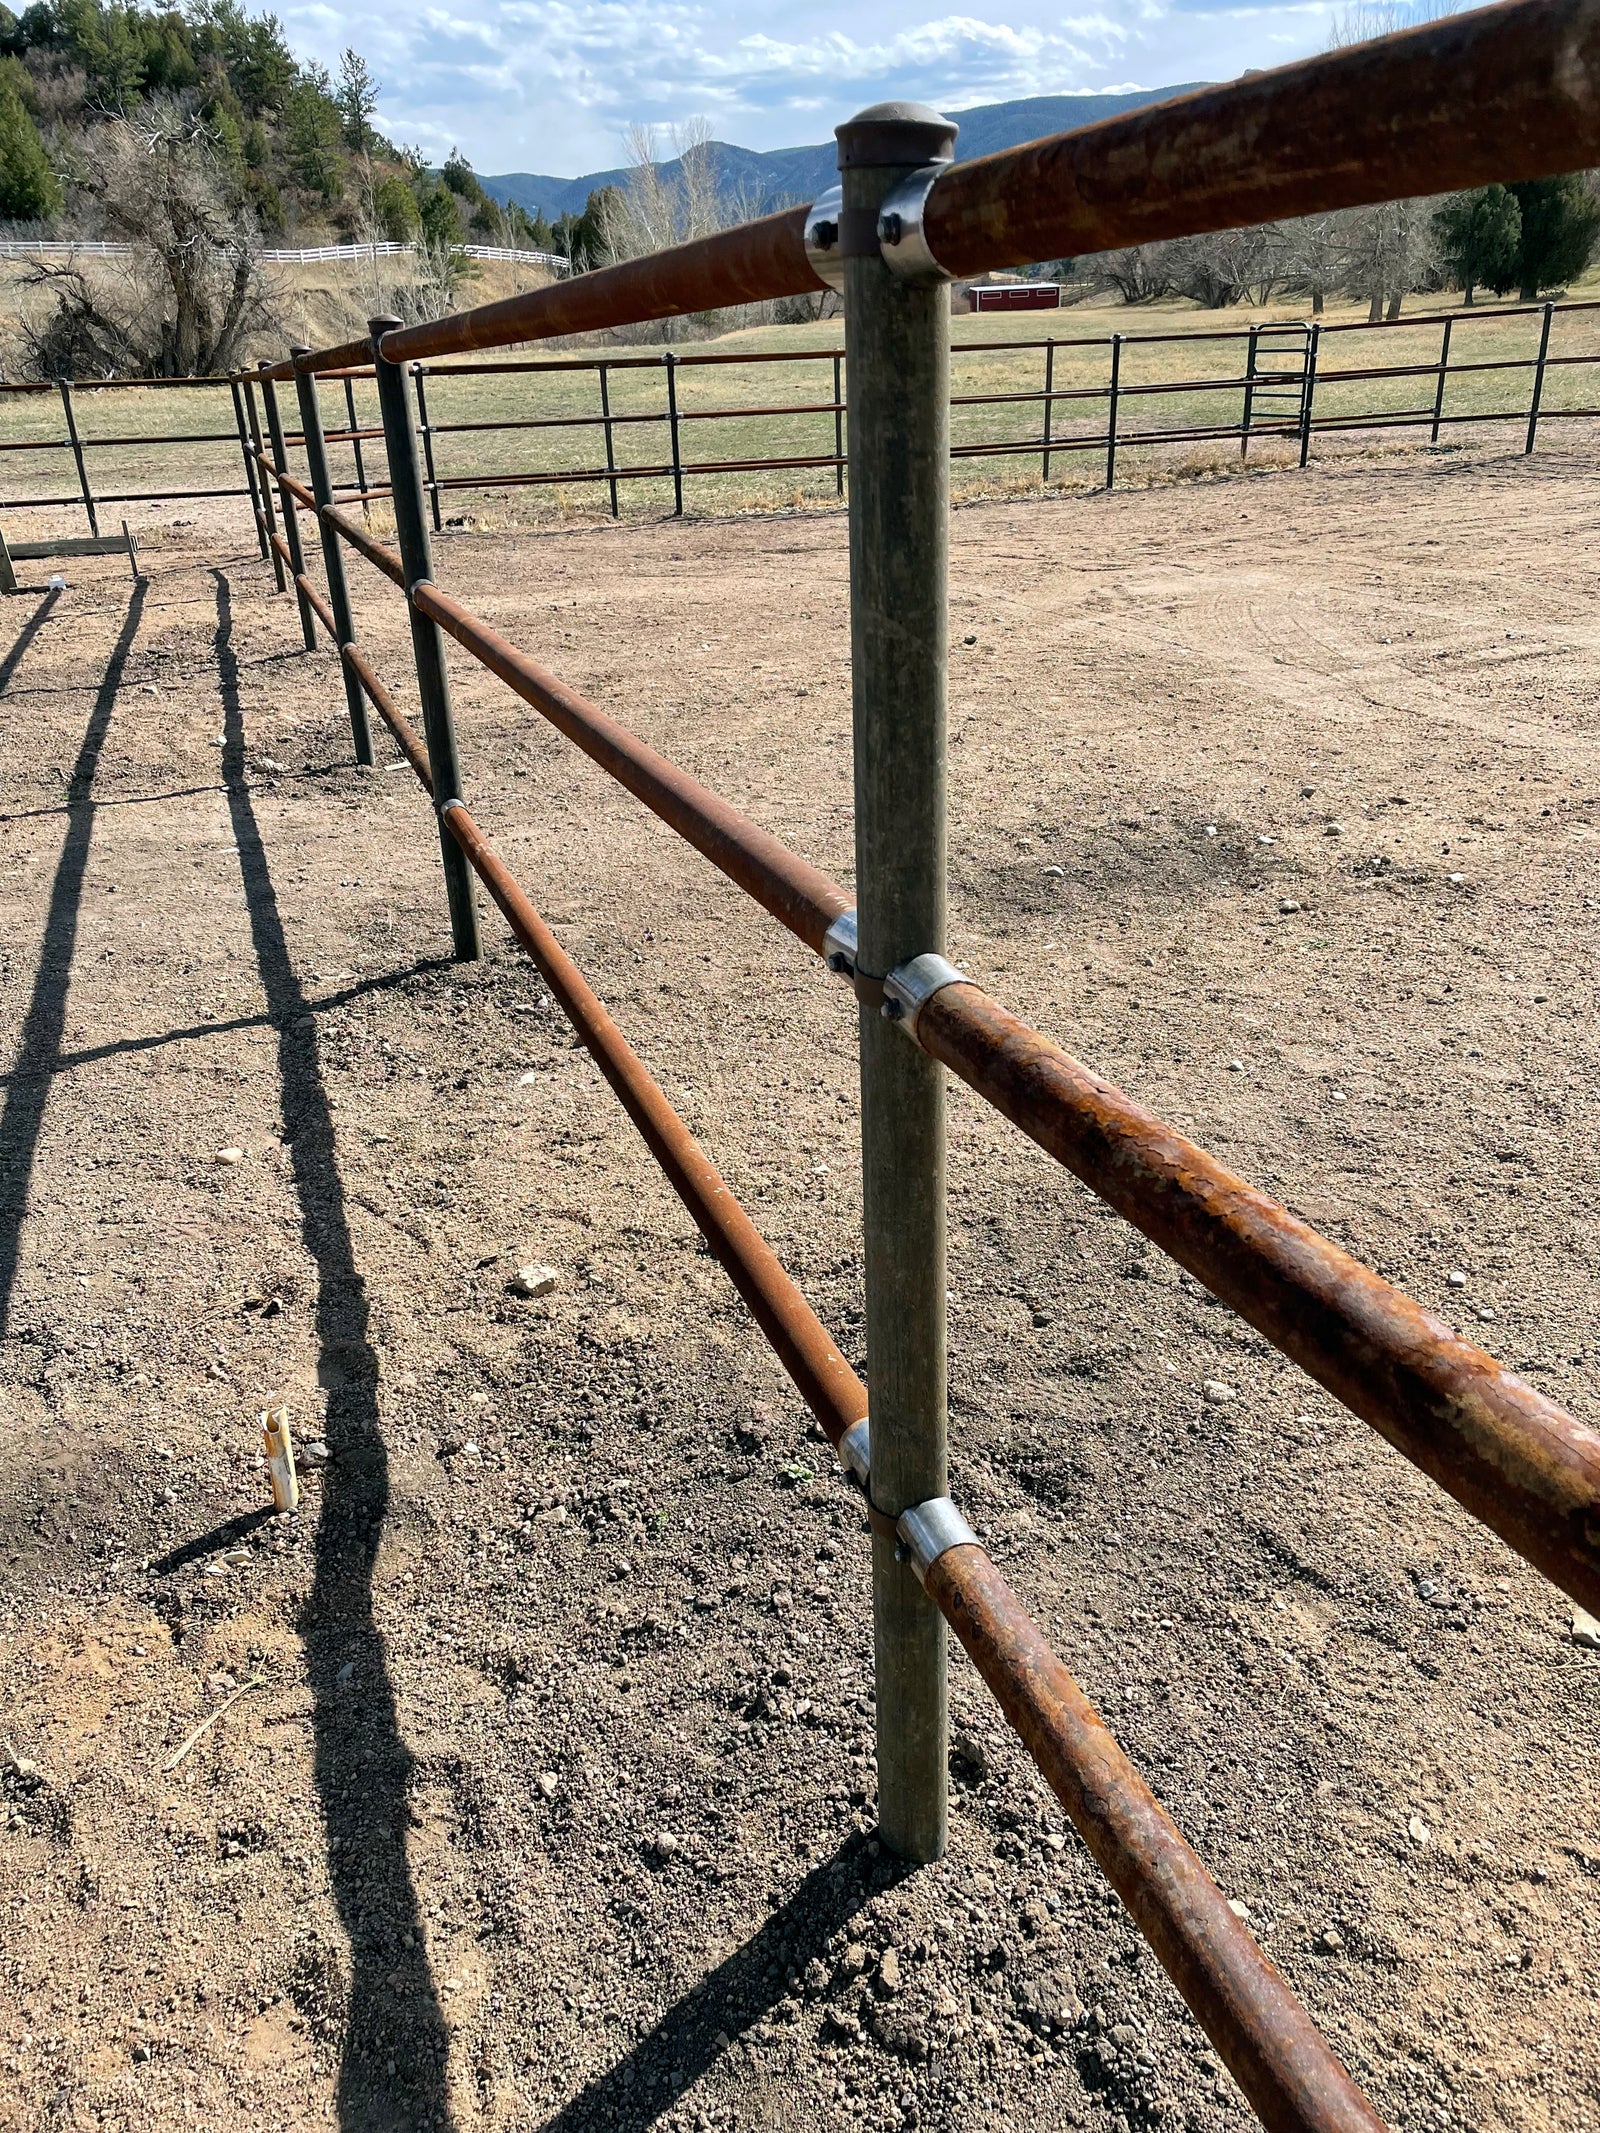
- Wood or steel pipe are the two most common fence brace materials. Steel has several advantages over wood with longer life, strength and fire resistance. Fence Bullet connectors are made of steel with a faster and easier construction than either a wood brace or welded steel brace. We recommend no pipe small than 2 ⅜ inch O.D. round schedule 40 posts for strand wire fencing. Woven and high fencing need larger posts in most cases and/or more than a single brace.
Setting posts:
- Select a setting method. Driven or dug holes, either is fine. Know your soils and local conditions. Posts set in sand will require a deeper post set than other soils. The minimum post depth for diggable soils is 3 feet. Driven posts are normally set deeper than 3 feet.
Brace Post spacings:
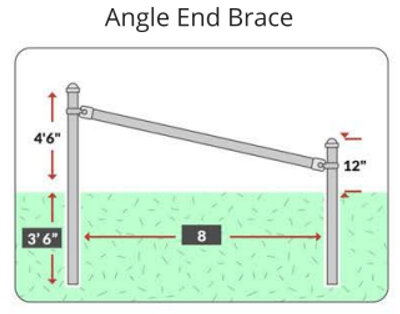
- We recommend setting posts no closer than 8 feet apart and no further than 10. This spacing will minimize the threat of a brace failure.
Number of brace posts:
- A 3 post brace (double brace) will have more strength than a 2 post brace (single brace). More posts in the ground usually means more resistance to movement. Typical braces for pulls of less that 660 feet are single brace and pulls longer than 660 feet double braces.
Single Brace types:
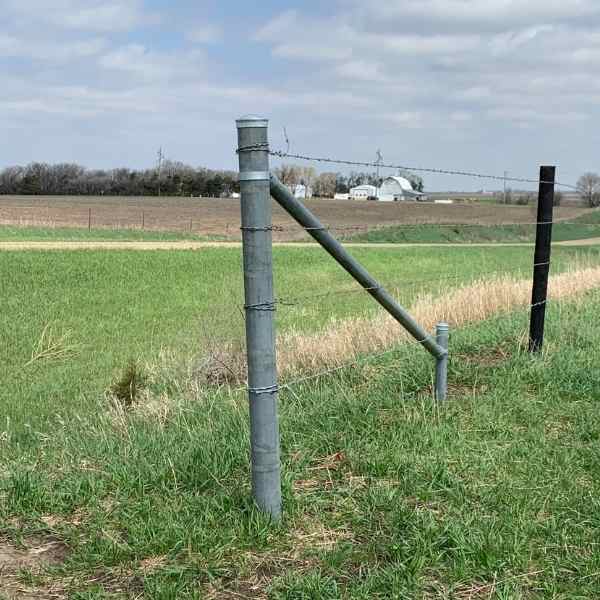
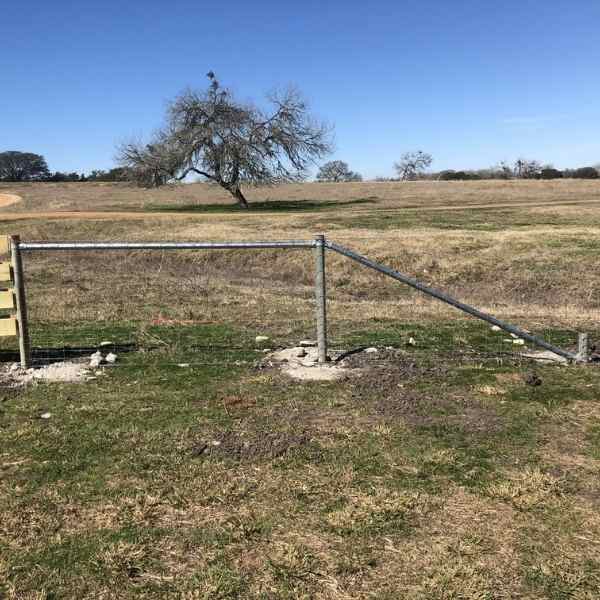
- We prefer an angle style brace; we call it an N brace. The advantage of the N brace is that the energy is directed to the ground and is less likely to move. Because no brace wire is needed, it’s also a faster brace to build. An H style brace is also a good brace, but has the disadvantage of needing a brace wire to avoid racking if there is movement of either post.
Double Brace types:
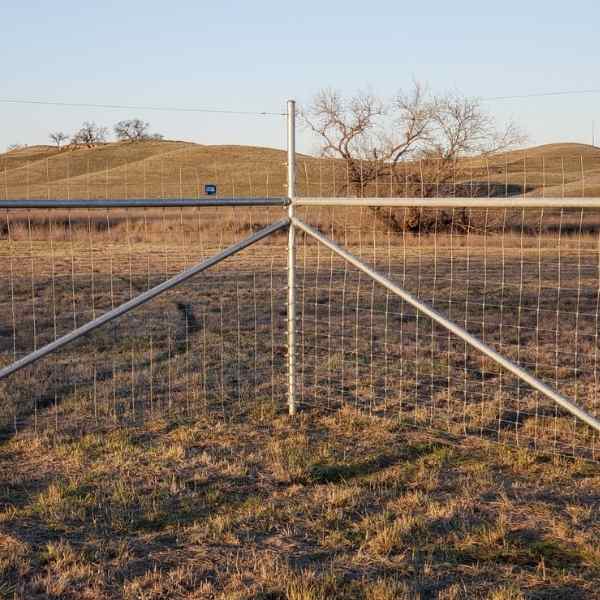
- We prefer an HN style over a HH brace. Again, we feel the angle in the brace does not allow as much movement and is simpler, quicker and less expensive.
Change of fence direction:
- For areas with a change in direction of more than 20 degrees, braces are recommended. Corner braces can be Corner H or Corner N braces. By stacking either two N or two H braces kits can make a single corner brace that is completely angle adjustable. We also have a 90 degree angle corner kit. For directional changes of more than 20 degrees and up to 60 degrees, we recommend an inside brace that is 90 degree parallel to the fence. A single N brace is a great choice here.
Brace heights:
- Ideally, braces should be set at two-thirds of the top wire height for a livestock fence. For a single N brace it can be set as low as one-half of the wire height. The angle of a N brace should not exceed 30 degrees to avoid pull out.
4| Making a material list
- If you're using Fence Bullet kits, you will want to make sure you have pipe size and fence brace kits sizes match.
- As we discussed earlier you will need to know what braces you are building to get a pipe material list and a Bullet Fence Systems material list.
- When buying pre cut pipe, a clean cut is preferred. Torch cut pipe will likely need grinding to allow the Fence Bullet sleeve to slide over.
5| Time to go build the fence
- Having a good fencing plan will make your fencing project much easier and successful. Happy fence building!


Leave a comment (all fields required)